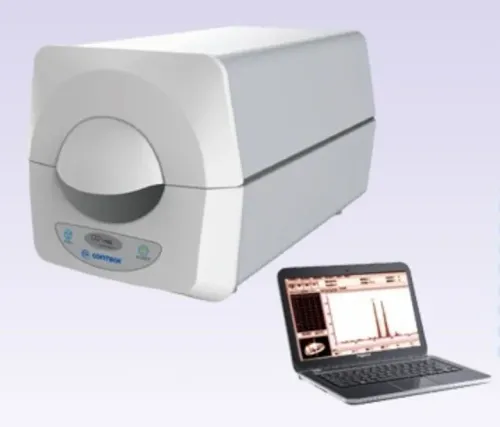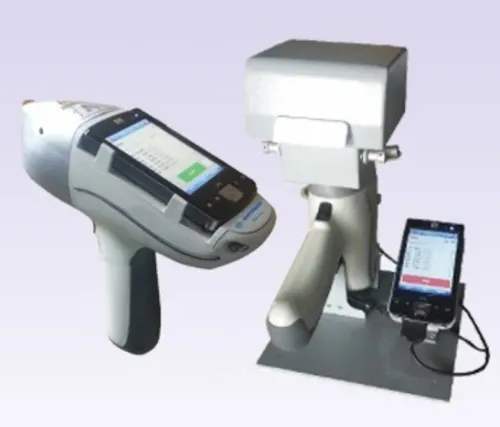

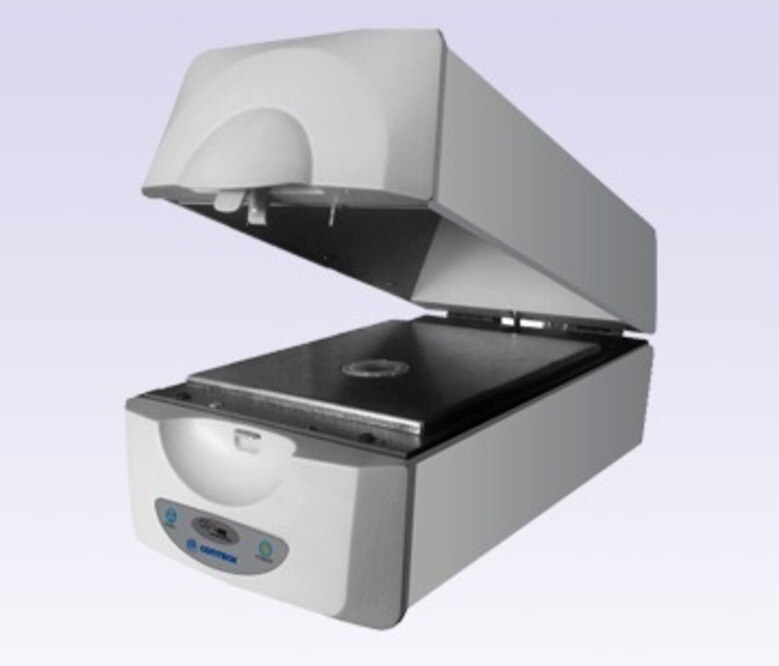
Humidity, condensation, polishing dust, unstable power and contaminated test surfaces can undermine a gold result before the analyzer displays it. By following a defined inspection schedule, verifying readings with suitable reference materials and escalating faults safely, you can protect both measurement quality and customer records.
Key takeaways
- Keep the analyzer air-conditioned, dust-free and protected from voltage fluctuations.
- Clean the sample area daily; schedule deeper inspection weekly and monthly.
- Warm up the instrument and verify reference standards before testing samples.
- Quarantine failed or doubtful results instead of releasing them to customers.
Control Mumbai’s humidity, heat, dust and power before testing
Keep gold testing equipment in a dry, air-conditioned room away from direct sunlight, open windows and areas where jewellery polishing compounds become airborne. Mumbai’s monsoon humidity, heat and dust can corrode connectors, obstruct cooling and alter readings.
1. Place the analyzer on a stable bench with clearance around ventilation openings. Do not position it directly below a split-air-conditioner outlet, where condensation can reach the instrument or sample area.
2. Let a cold instrument or sample reach room temperature before opening the chamber or testing. Wipe away visible moisture and stop if you find condensation, corrosion or moisture inside connectors, fans or exposed metal.
3. Keep the instrument covered when idle, but remove the cover before operation and keep the sample window, stage and ventilation openings free of dust. Do not use compressed air, water sprays or solvent near the chamber.
4. Power the analyzer computer and electronics through a UPS sized for the instrument’s load. Test its battery and orderly-shutdown function; installation date alone proves nothing. A UPS does not replace proper grounding, surge protection or periodic electrical inspection.
5. Protect method files, calibration data, raw spectra and result records with controlled user permissions and routine backups. Test a restore, because exported PDF reports cannot replace lost instrument status or audit-trail data.
Run a startup control check with a certified reference material matching the expected alloy and sample geometry. Record the result before releasing customer measurements.
Follow a daily, weekly and monthly cleaning schedule
Use a signed log with the operator’s name, date, instrument ID and completion time. Set intervals from the manufacturer’s instructions, workload, dust, humidity and transport history; an annual sticker does not replace daily checks.
- Daily: Inspect the sample window, collimator opening, sample stage, detector-area cover, display, keyboard, cables, warning lamps and ventilation openings. Remove loose dust with a lint-free cloth; use only a manufacturer-approved swab for accessible surfaces. Keep water, solvents, abrasive wipes, metal tools and compressed air away from the window and detector.
Record damage, contamination, alarms and the cleaning performed, then sign off.
- Weekly: Clean the stage, sample-contact fixture, keyboard and display with the approved method, and check that the lid, interlock and sample positioning operate without force. Inspect for polishing compound, condensation, corrosion or blocked ventilation after humid weather or air-conditioning changes. Record the condition and corrective action; do not open the cabinet.
- Monthly: Review method-file versions, user permissions, result and raw-spectrum backups, and complete a documented restore test. Inspect the power connection and external cooling airflow.
Run a certified reference material check when required by the quality plan or manufacturer, recording its identification, certified value and uncertainty, raw reading or spectrum, correction, acceptance limits and pass/fail decision. The operator signs the review; an authorised engineer handles radiation-safety, tube, detector, shielding and high-voltage checks.
Warm up, verify and prepare every sample correctly
A gold testing analyzer is ready only after warm-up, safety checks and an independent verification pass. Follow the manufacturer’s warm-up period; testing before the detector and electronics stabilise can create drift that looks like a change in fineness.
1. Run the startup self-test and confirm the approved method file, date, time and user login. Check the sample window, stage and collimator for dust, residue, scratches or obstruction.
2. Test the cabinet interlock, warning lamp, key control and shielding checks according to the instrument’s service procedure and applicable Indian regulatory requirements. Do not operate the unit with a failed interlock, warning lamp or shielding check, even if the spectrum looks normal.
3. Verify performance with a certified reference material or control sample that matches the expected alloy and geometry. A pure-gold standard will not adequately challenge results for jewellery containing silver, copper, palladium, nickel or zinc. Record its identification, certified value, uncertainty, raw reading or spectrum and pass/fail decision.
Calibration establishes instrument response; verification proves it remains within your acceptance limits.
4. Clean and dry each article before measurement, removing dirt, polishing compound and loose plating residue without altering the test surface. Place thin, hollow or irregular pieces flat and securely; do not measure over solder, cavities, stones or visibly different colours.
5. Take readings at several clean locations on heterogeneous, soldered or plated articles. Disagreement between locations signals a sampling problem, not a software problem. Record the locations, method version, operator and any correction applied. Back up raw spectra and audit records, not only exported reports.
Investigate failed checks instead of releasing doubtful results
Do not release a gold result after a failed check. Quarantine the affected readings, label the instrument status, and record the sample, method file, operator, warning message and time. Repeating a test without finding the cause can turn an equipment fault into a reported purity value.
Investigate in this order:
- Confirm the article was measured at several clean locations. Disagreement between locations points to solder, plating, hollowness or local composition—not a fault that recalibration can fix.
- Repeat the control material at one location and compare repeatability, bias, drift and the software’s rejected-reading rate with limits defined before review.
- Inspect the sample window, stage and chamber for contamination, then check condensation, heat, dust and unstable power.
- Compare the active method and calibration files with the approved, version-controlled copies. Do not overwrite them during troubleshooting.
- If the gold testing analyzer runs slowly, freezes or displays a hardware warning, stop testing and preserve the diagnostic log.
A plausible reading does not make gold purity equipment safe. Stop operation if the warning lamp, key control, door interlock, shielding or leakage check fails, and arrange the prescribed radiation-safety inspection under Indian requirements and the manufacturer’s service procedure.
Back up raw spectra, calibration constants, sample identifiers, audit trails and instrument status—not only PDF reports. Verify that a restore works. Record the reference material identification, certified value and uncertainty, raw result, correction and pass/fail decision; calibration establishes response, while verification proves the result remains acceptable.
Know which maintenance belongs to an authorised service engineer
Stop user maintenance immediately when an interlock fails, a warning lamp stays off, shielding is damaged, or the instrument reports a tube, detector, high-voltage or calibration fault. A plausible gold result does not make an unsafe X-ray cabinet safe to operate.
Do not open the cabinet, wipe a detector window, adjust high-voltage circuits, replace tube components or alter calibration constants. These tasks require a qualified service engineer following the manufacturer’s procedure and applicable Indian radiation-safety requirements.
| User action | Authorised service action | Arrange service when |
|---|---|---|
| Clean vents and filters; inspect the sample stage and window | Inspect the cooling path and detector condition | Heat persists, the fan is abnormal, resolution worsens or the detector window is contaminated |
| Check warning lamps, keys and interlocks without defeating them | Test shielding, leakage, interlocks and high-voltage circuits | Any safety control fails, the cabinet is damaged or the door does not stop exposure |
| Run a CRM verification and record the spectrum, certified value, uncertainty and pass/fail result | Recalibrate, replace ageing tube parts or repair calibration hardware | Verification fails after sample and method checks, or calibration settings change unexpectedly |
| Back up method files, raw spectra, audit trails and instrument status; perform a restore test | Repair software, permissions or instrument communication | Results, spectra, audit trails or controlled methods disappear |
Do not rely on an annual sticker: workload, monsoon humidity, dust, heat and transport determine inspection timing. CONTECH INSTRUMENTS LTD. can help identify the service procedure for the installed model, but retain the engineer’s report and post-repair performance test before releasing results.
Related products
 | X-RAY FLUORESCENCE SPECTROMETERS GOLD PURITY CHECKING INSTRUMENTS Gold Purity Checking Balance Gold Purity Checking Balance Manufacturer, Supplier & Exporter Our Gold Purity Checking Balance is designed for... View product → |
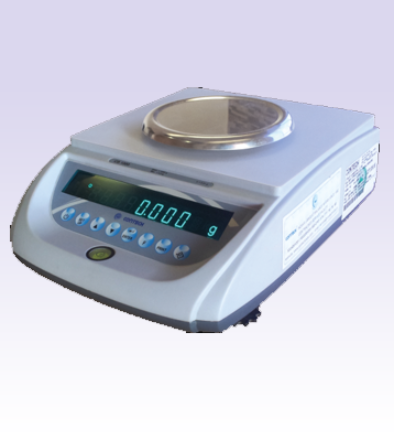 | GEM AND JEWELLERY BALANCES Precision Balances (Without Motorized Internal Calibration) – 0.01 g to 1200 g Precision Balances (Without Motorized Internal Calibration) – 0.01 g to 1200 g The CONTECH Precision Balances are advanced laboratory weighing... View product → |
Frequently asked questions
How should you protect gold testing equipment from Mumbai’s climate?
Keep it in a dry, air-conditioned room away from direct sunlight, open windows, polishing dust and unstable power. Use suitable power protection and monitor humidity.
How often should computerized gold testing equipment be cleaned?
Clean exposed sample areas daily, inspect and clean accessible components weekly, and complete a deeper monthly inspection using the manufacturer’s procedure.
What checks should you complete before testing gold?
Allow the analyzer to warm up, confirm calibration or reference checks, inspect the sample surface, and prepare a clean, representative sample.
What should you do when a verification check fails?
Stop reporting results, repeat the check with a clean reference, inspect the sample area and operating conditions, and quarantine the instrument if the failure continues.
Which maintenance tasks require an authorised service engineer?
Use an authorised engineer for calibration adjustment, internal repairs, software or firmware changes, detector work, electrical faults and repeated verification failures.