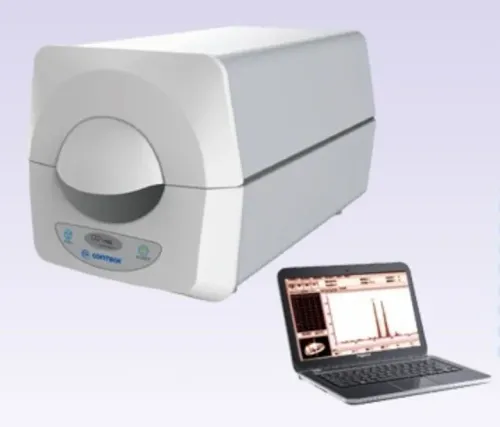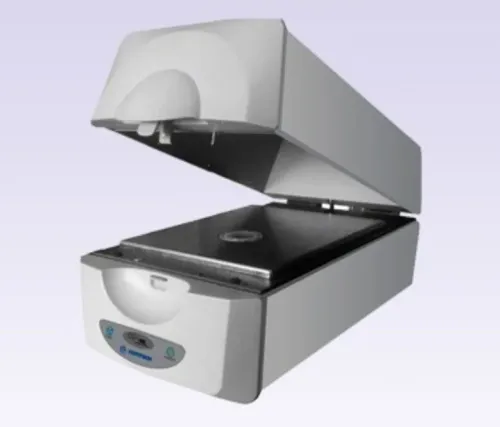

A moisture balance gives students more than a fast percentage: it exposes how heating, mass measurement, sample preparation, and stopping rules shape a result. By the end, you can decide whether a moisture balance fits your laboratory, design a defensible classroom experiment, and recognise when oven drying or Karl Fischer titration is the better comparison.
Key takeaways
- Use moisture balances to connect heating, mass loss, and calculated moisture content.
- Choose stable, uniform samples that dry without splashing, burning, or crust formation.
- Set temperature and endpoint from the sample’s method, not a convenient default.
- Check readability, safety controls, data export, calibration, and teaching workflow before buying.
What can students learn from a moisture balance?
A moisture balance is useful in an educational laboratory because it turns an invisible change into measurable evidence: students weigh a sample, heat it, observe mass loss, and connect the result to a defined method. It is not limited to production or commercial testing.
A laboratory moisture analyzer demonstrates thermogravimetric loss on drying. The instrument repeatedly measures the sample while heating and reports the mass lost before its endpoint. That loss includes water only when the sample contains no other material that evaporates or decomposes under the selected conditions.
Students can use the instrument to learn:
- Mass balance: initial sample mass equals remaining residue plus material lost during drying.
- Gravimetric analysis: a calculated result depends on weighing precision, sample preparation, temperature, and endpoint.
- Method development: changing the temperature or endpoint changes drying time and can change the reported result.
- Repeatability: replicate tests reveal whether spreading, sample size, and handling produce consistent values.
- Method comparison: analyzer results can be checked against oven drying or a recognised procedure such as ASTM E1131.
The correct interpretation is loss on drying, not automatically true water content. Volatile solvents, residual processing chemicals, and decomposition products can leave with the water, giving a falsely high “moisture” result.
That limitation makes the instrument valuable for teaching analytical judgment. It is the wrong stand-alone choice when students must measure water selectively; Karl Fischer titration is designed for that requirement.
How does the instrument turn mass loss into a moisture result?
It measures mass, not water molecules. A moisture analyzer heats a weighed sample and repeatedly records its mass; the difference between the starting mass and the final mass is treated as material lost during drying. That loss can include water and other volatile compounds, so the result is a method-dependent Loss on Drying value.
- Record the sample identity and clean, dry pan identification.
- Weigh the empty pan, place it on the balance, and tare it to zero.
- Add a representative sample and spread it in a thin, even layer. Record the initial sample mass shown by the instrument.
- Set the drying temperature, heating profile, and endpoint rule, such as a defined mass-loss rate over a specified time.
- Start the run. The instrument heats the sample, measures mass repeatedly, and stops when the programmed endpoint is reached.
- Record the final dry mass, drying time, endpoint setting, and reported result. Repeat the test using fresh portions when teaching repeatability.
Calculate Loss on Drying as: LOD (%) = [(initial sample mass − final dry mass) ÷ initial sample mass] × 100.
For example, a sample weighing 10.00 g before heating and 8.40 g at the endpoint loses 1.60 g. LOD = [(10.00 − 8.40) ÷ 10.00] × 100 = 16.0%. That figure describes mass loss under this method, not water content proven by a selective water analysis.
How should you choose heating temperature and the drying endpoint?
Choose the lowest temperature that removes the target volatile material without scorching, melting, splattering, or decomposing the sample. A higher setting shortens a demonstration, but it can drive off compounds other than water and produce an inflated loss-on-drying result.
Set a consistent airflow: strong, changing airflow can cool the surface, disturb powders, or remove vapour unevenly.
Spread the sample in a thin, even layer across the pan. A thick mound creates a wet centre, lengthens drying time, and makes the final mass depend on how the sample was arranged. Use the same sample mass, pan preparation, layer thickness, temperature, and heating profile for every replicate.
| Endpoint rule | Benefit | Limitation and best use |
|---|---|---|
| Fixed drying time | Simple and fast for a class demonstration | Can stop while the sample is still losing mass; use only after establishing a suitable time |
| Mass-loss rate | Stops when mass change falls below a defined rate over a defined interval | Requires a sensible rate and interval; useful for routine comparisons |
| Stability criterion | Gives the most repeatable completion rule when defined clearly | Takes longer and can expose slow-drying samples; best for method development |
Choose a fixed time for a quick comparison, but use a mass-loss or stability endpoint when students must defend a complete, repeatable result. Record temperature, endpoint rule, sample mass, layer preparation, final mass, elapsed time, and any deviation.
The moisture analyzer’s temperature verification and the balance check require separate checks; balance calibration alone cannot validate drying.
Which classroom samples produce a fair and repeatable experiment?
Choose samples that mix evenly, tolerate the selected temperature, and lose mainly moisture rather than volatile oils or decomposing material. Flour, prepared soil, paper, food, biomass, and pharmaceutical excipients can work, but inconsistent particle size or overheating will produce a convincing-looking wrong answer.
Prepare each classroom sample this way:
- Flour: mix the container, break lumps, and spread a thin even layer.
- Soil: air-dry only if that is part of the method, remove stones, sieve, mix, and record the sieve size.
- Paper: cut equal pieces, mix them, and avoid touching samples after conditioning.
- Food: homogenise it; chop wet food finely and use the same mass for every replicate.
- Biomass: mill or cut it to a recorded size, then seal it before testing.
- Pharmaceutical excipients: mix the lot, avoid contamination, and follow any monograph temperature limit.
| Comparison | What it shows | Main limitation |
|---|---|---|
| Laboratory moisture analyzer | Fast, repeatable loss-on-drying screening | Heating can scorch or decompose samples |
| Drying oven | Reference-style gravimetric comparison at a controlled temperature and time | Slow cooling, weighing, and repeated handling |
| ASTM E1131 procedure | Recognised thermogravimetric loss-on-drying framework | It does not prescribe one universal program for every material |
Run replicates and compare means, spread, drying time, and final mass—not just one percentage. Record sample identity, mass, pan, preparation, temperature, heating profile, endpoint, result basis, deviations, and results beside the oven or ASTM E1131 method. A moisture balance measures loss on drying, not water selectively.
What should an educational laboratory check before buying one?
Before buying, require evidence that the instrument supports teaching, not merely a polished percentage display. Compare suppliers by the records, checks, and limitations they expose.
1. Ask for a method template recording sample identity, sample mass, pan and preparation, temperature, heating profile, endpoint rule, result basis, replicate results, and deviations. A result reported only as “8.4% moisture” cannot be reproduced.
2. Run three or more replicates on the same prepared sample. Compare the spread, drying time, and endpoint behaviour; a low average is not useful if students obtain widely different results.
3. Confirm separate verification procedures for the balance and heater. Traceable mass standards check weighing, but they do not prove temperature accuracy or validate the complete drying method. Ask how the supplier verifies both.
4. Check the minimum and maximum sample mass, pan dimensions, recommended sample thickness, temperature range, and whether the software records raw mass and time. A classroom sample outside those limits can produce misleading results.
The phrase testing machines moisture balance is not a standard category. Search and specify moisture balance, moisture analyzer, laboratory moisture analyzer, or loss-on-drying analyzer when comparing digital moisture instruments. CONTECH INSTRUMENTS LTD. is one supplier to ask for method demonstrations rather than accepting a default program as validated.
Finally, distinguish loss on drying from Karl Fischer analysis: heating measures total mass lost, including volatile substances, while Karl Fischer specifically measures water through a chemical reaction. Choose Karl Fischer when water selectivity matters.
Related product
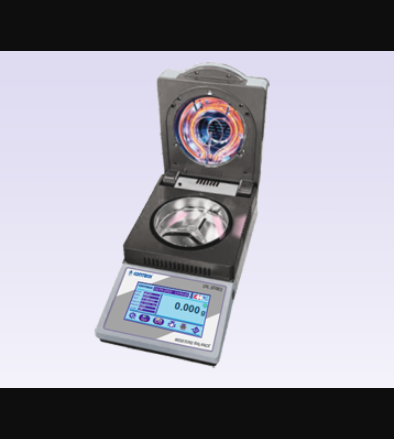 | Moisture Balances Moisture Balances (CAL Series) (0.001 g to 180 g) Moisture Balances (CAL Series) (0.001 g to 180 g) The CONTECH CAL Series Moisture Balances are advanced moisture analyzers designed for fast,... View product → |
Frequently asked questions
What can students learn from a moisture balance?
Students can measure mass before and after heating, calculate moisture content, evaluate drying curves, and see how sample preparation and method settings affect repeatability.
How does a moisture balance turn mass loss into a moisture result?
The instrument weighs the sample, heats it, records decreasing mass, and calculates moisture from the lost mass relative to the starting mass. The result depends on the selected endpoint and method.
How should you choose heating temperature and the drying endpoint?
Choose a temperature that removes water without decomposing, burning, or spattering the sample. Set the endpoint when mass loss falls below a defined rate or remains stable for a specified period.
Which classroom samples produce a fair and repeatable experiment?
Use homogeneous samples with consistent particle size and enough moisture to produce measurable loss, such as flour, sand with known water addition, or prepared food samples. Avoid samples that foam, char, or release solvents.
What should an educational laboratory check before buying one?
Check weighing readability, heating range, temperature control, endpoint settings, pan size, safety features, calibration procedures, result storage, data export, cleaning requirements, and ease of use for student groups.