
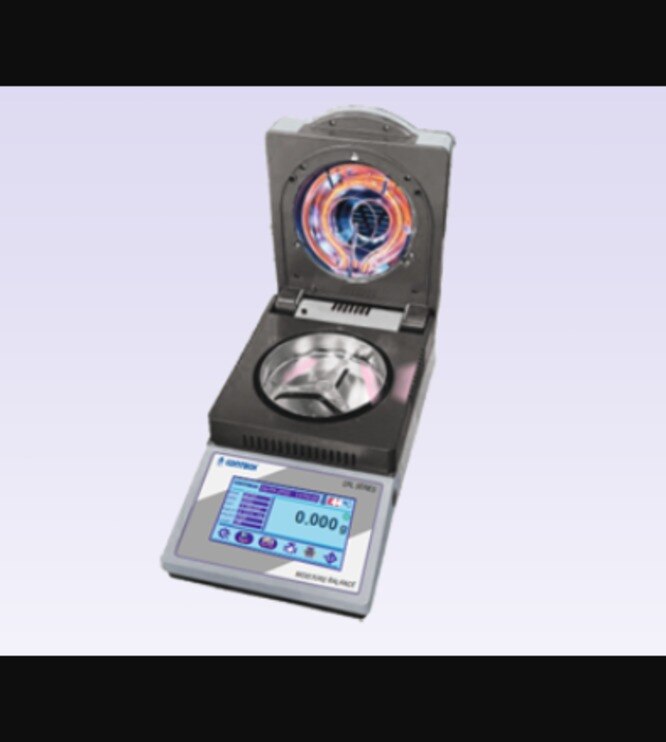
Humidity, condensation, airborne salt, dust, unstable airflow, and residue from previous samples can all shift a moisture result or shorten instrument life. By following a defined installation, cleaning, temperature-control, calibration, and storage routine, you can protect the instrument and produce more consistent moisture measurements.
Key takeaways
- Place the balance away from air-conditioning outlets, sunlight, vibration, ovens, and open doors.
- Clean the pan and heating chamber only after the instrument has cooled and been switched off.
- Use a consistent sample mass, particle size, and spreading depth for comparable moisture results.
- Stop the run if calibration fails, the weighing signal drifts, or residue enters the heating chamber.
Install the Moisture Balance Away from Mumbai’s Heat, Humidity, and Airflow
Place the laboratory moisture balance on a rigid, level bench that does not flex under its weight or the operator’s hands. Keep it clear of air-conditioner outlets, ceiling fans, doors, windows, direct sunlight, vibrating equipment, ovens, hot plates, and other heat-producing instruments; airflow shifts the weighing signal, while heat changes the sample’s drying behaviour.
For laboratory moisture balance for care in Mumbai, control the surroundings as follows:
- Follow the operating manual’s non-condensing humidity limit. During monsoon weather, dust and salt-laden coastal air can destabilise readings, attract moisture to samples, and corrode exposed metal. Keep the chamber closed and use the draft shield during loading and weighing whenever the model provides one.
- Let a cold instrument and its sealed sample container reach room temperature before opening or operating them. Moving them from an air-conditioned room into warm, humid air can create condensation on the weighing cell, metal parts, or sample. Do not use a heater to accelerate acclimatization.
- Keep clean pans and hygroscopic reference materials in sealed containers. Use a monitored desiccant container or dry cabinet when the material specification requires it; saturated desiccant offers no protection.
- Do not leave an opened chamber or used pan exposed overnight. Dust and humid air can alter sample moisture before the laboratory moisture balance begins its measurement.
If the balance has been relocated or exposed to a major temperature or humidity change, let it stabilize before use and repeat the required verification.
Clean the Pan, Heating Chamber, and Weighing Area Without Causing Damage
Clean the moisture balance instrument at the end of each day and immediately after a spill. Residue can absorb Mumbai’s humid air, change tare values, corrode parts, or release vapours during the next moisture analysis.
1. Stop the run, switch off the instrument, and disconnect the power when the manual requires it. Wait until the heater and chamber are fully cool. Do not clean a warm chamber or use a heater to speed drying or acclimatization.
2. Remove the pan and pan holder as the manual directs. Use a soft brush or lint-free cloth to clear the pan, holder, heating chamber, weighing mechanism area, draft-shield surfaces, display, and external housing. Use only the detergent, solvent, or disinfectant specifically listed as compatible in the manual.
3. Lift spilled powder or brush it outward, away from the load cell, heater, temperature sensor, seals, and ventilation openings. Do not push residue into the mechanism. Never spray liquid into the instrument, soak the pan holder, scrape coated surfaces with metal tools, or use abrasive powders, aggressive solvents, or excess water.
4. For salt-rich, acidic, alkaline, sticky, or corrosive samples, use a fresh disposable pan and complete a documented cleaning check. After every surface dries, inspect for residue; visual inspection alone does not replace the check.
5. Never leave an opened chamber or used pan exposed overnight. Store clean pans in a sealed container and follow the manual’s storage requirements for hygroscopic reference materials.
Prepare the Sample and Control Temperature Before Moisture Measurement
A reliable moisture measurement starts with a representative sample at room temperature. A thermogravimetric moisture balance weighs the sample, heats it with an infrared or halogen source, and calculates mass loss. That loss is not automatically water: solvents and other volatile components can also evaporate and appear as moisture.
1. Keep hygroscopic powders or granules sealed until the pan is ready. Portion quickly, then reseal the container immediately; exposure to Mumbai’s humid air can change the result before heating starts.
2. Spread the portion as a thin, even layer across the pan. Remove lumps, deep piles, and wet spots, and keep material away from the edge; uneven loading creates temperature and diffusion gradients.
3. Bring a cold sample container and the instrument to room temperature while sealed and without forced heating. A warm sample can create convection and unstable weighing, while a cold sample opened in humid air can attract condensation.
4. Define the method before running it: sample mass, particle size, pan loading, heating profile, endpoint criterion, and cooling or weighing conditions all affect moisture analysis. Record them, not just the final temperature.
5. Treat a copied oven or instrument method as unproven. Use replicate testing and precision checks, then compare results with Karl Fischer titration or another validated reference when water specificity matters.
Do not leave an opened chamber or used pan exposed overnight. Store clean pans and hygroscopic reference materials sealed, using monitored desiccated storage when the material specification requires it.
Use a Startup, Calibration, and Verification Checklist
Do not release a shift’s moisture measurement results until this sequence is complete:
1. Allow the moisture balance instrument to warm up for the manufacturer’s stated time. Check the level indicator, intact power connection, clean weighing area, correct pan and pan-holder placement, and closed draft shield. Confirm that calibration status is current.
2. Perform the weighing check: place the empty pan, tare it, and confirm a stable zero. Then test a control material or retained reference sample with a known moisture range. Record sample mass, temperature program, endpoint, result, analyst, and date in a control chart.
3. Perform weighing calibration or adjustment only with the specified certified test weight. Record its identity, observed value, acceptance limit, and any corrective action. A passed weight check does not prove heater accuracy.
4. Perform temperature verification with the manufacturer’s temperature-calibration kit or a traceable temperature reference under your laboratory quality system. Record the reference temperature, observed value, acceptance limit, analyst, date, and corrective action. A correct heater temperature does not prove weighing accuracy.
5. After relocation, servicing, a major temperature or humidity change, or prolonged power interruption, let the instrument stabilize and repeat the required calibration or verification before use.
For ISO/IEC 17025 laboratories, justify intervals and limits using risk, drift history, use, and manufacturer instructions. CONTECH INSTRUMENTS LTD. can provide the model-specific procedure, compatible reference equipment, or service support when those details are uncertain.
Related product
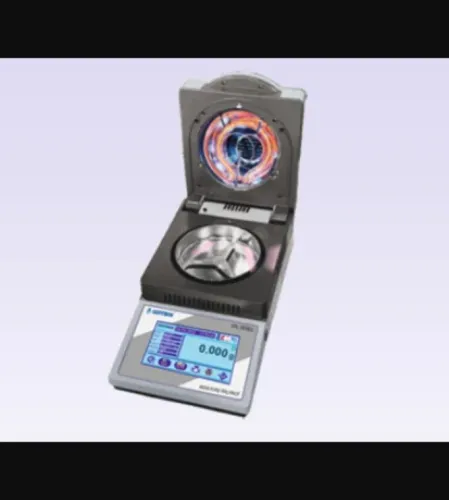
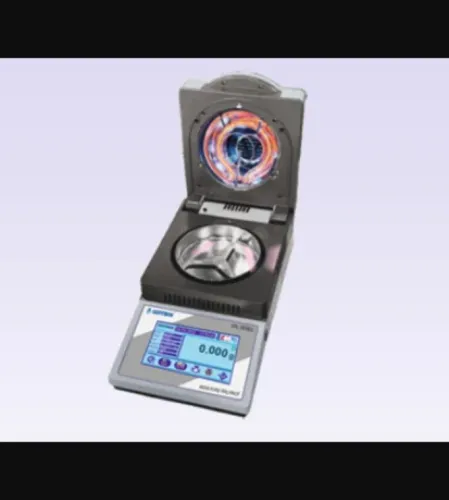
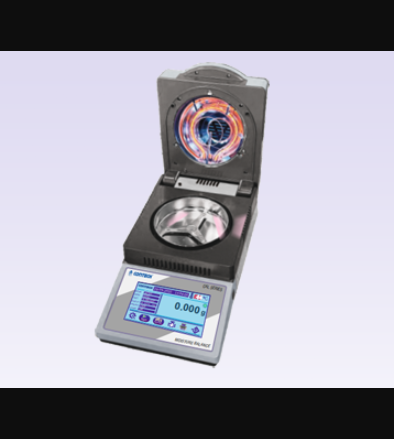 | Moisture Balances Moisture Balances (CAL Series) (0.001 g to 180 g) Moisture Balances (CAL Series) (0.001 g to 180 g) The CONTECH CAL Series Moisture Balances are advanced moisture analyzers designed for fast,... View product → |
Know When Cleaning and Care Are Not Enough for a Safe, Reliable Run
Stop the run when residue, corrosion, an unstable zero, repeated control failures, heater-temperature disagreement, damaged seals, or poor repeatability appears. Document the condition and investigate it; do not repeat moisture measurement until a convenient number appears.
Do not use a laboratory moisture balance as a general-purpose drying oven for samples that decompose, ignite, foam, spatter, or release corrosive or toxic vapours. Review the sample safety data sheet and the instrument’s permitted temperature and material limits before moisture analysis.
A fume hood controls exposure; it does not make an incompatible sample safe for the balance.
Investigate a drifting result with a controlled comparison:
- Inspect the pan, chamber, seals, draft shield, weighing area, heater, and temperature sensor for contamination or damage.
- Compare replicate tests at the intended moisture range, using the same sample preparation and endpoint.
- Check bias or recovery against a suitable reference method or control material.
- Evaluate precision across the intended range, not only one convenient sample.
- Escalate to technical support when cleaning, verification, or method review does not explain the failure.
Release the instrument only when the chamber is clean, the zero is stable, calibration and temperature verification meet documented limits, and the control material falls within its established range.
Frequently asked questions
Where should you install a laboratory moisture balance in Mumbai?
Install it on a rigid, level bench away from air-conditioner outlets, fans, doors, windows, sunlight, vibrating equipment, ovens, hot plates, and other heat sources.
How do you clean a moisture balance instrument safely?
Switch off the instrument, disconnect it when required by the manufacturer, and let the pan and heating chamber cool before cleaning. Remove loose residue without scratching the pan, temperature sensor, or heating surfaces, and prevent liquid from entering the weighing area.
How should you prepare a sample for moisture measurement?
Use a representative sample with a consistent mass, particle size, and layer thickness. Spread it evenly across the pan so the heating process reaches the sample uniformly.
What should you check before starting moisture analysis?
Confirm that the balance is level, the pan is clean and correctly seated, the heating chamber is free of residue, and the instrument has completed startup. Perform calibration and a verification check according to the manufacturer’s procedure.
When is cleaning and routine care not enough?
Stop using the instrument when calibration fails, the reading drifts, the pan or chamber is damaged, the heater behaves abnormally, or residue has entered internal components. Arrange qualified service before relying on the result.